Free printable birthday place cards: templates and wording ideas
Published on October 27, 2026 · The Fotelya team
A clearly written name, a little message that brings a smile, and a card that stands up: a birthday place card needs nothing more to make someone feel welcome. Whether you are planning a child’s party, a 30th, 40th or 50th birthday, or a surprise celebration, here is how to prepare personal cards that are easy to print at home.
The short answer
To create free printable birthday place cards, prepare your list of first names and choose a folded tent card template on an A4 sheet. Print a test sheet on paper compatible with your printer, then cut out and fold the cards. Handwrite a memory, a heartfelt message or a photo challenge beneath each name. A simple style and short wording keep everything easy to read, even on a richly decorated table.
Which format should you choose for printing at home?
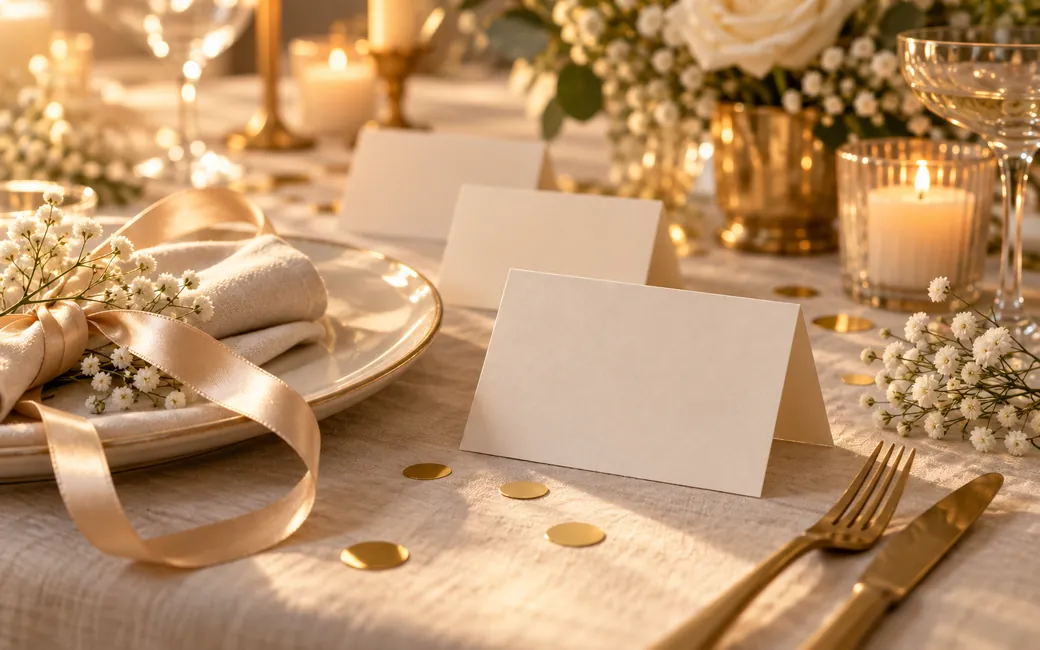
A folded tent card works well on a birthday table: it stands without a holder and lets guests read the name without moving any tableware. For a homemade version, start with a layout designed for A4 paper rather than a screenshot. This preserves consistent spacing, cutting guides and a resolution suitable for printing.
A precise format that is easy to reproduce
Fotelya’s free generator creates A4 sheets with four tent cards. Each card measures 10.5 × 14.8 cm when flat and 10.5 × 7.4 cm when folded. The first name appears on both sides of the tent card, helping guests get to know their neighbors at the table. Downloads are in PNG format; you can also print directly from the tool.
This format leaves room for the name without turning the card into a sign. Before preparing the full set, place one folded card on your table alongside the glasses and plates. Check that it does not hide anything else and remains visible from a seated position, not just when you look at it standing up.
Choose paper that suits your printer
Choose paper sturdy enough to form a tent card, but check your printer’s specifications before buying heavier paper. Not all printers support the same paper types. A matte finish is a practical choice for adding a few handwritten words, though you should still test your chosen paper and ink together.
If you would like flat cards for clips you have already bought, check their dimensions before creating your layout. The generator described here produces tent cards, not a collection of interchangeable formats. It is better to choose a suitable format from the start than to shrink an entire sheet arbitrarily and discover that the names are now tiny.
Complete template ideas for a child’s party or a 30th, 40th or 50th birthday
A good birthday template starts with a simple layout: the name takes center stage, the decoration supports it, and the message stays secondary. The suggestions below are presentation ideas to recreate. Plan to handwrite the messages beneath each name after printing, rather than assuming the generator has an extra text field.
A child’s birthday: a name and a little world of imagination
For a space-themed party, start with a light background, a dark name and a star drawn in felt-tip pen after printing. The card could say “Lila”, followed by “Captain of the party”. Try the same idea with “Noé” and “Snack-time explorer”, without crowding the name with too many designs.
For an animal theme, add a small, easily recognizable drawing: a cat, a turtle or a butterfly. The text could be “Zoé”, followed by “Adventure awaits!”. If the children cannot yet read their names, tell them which symbol is theirs when they arrive and guide them to their seats.
A 30th birthday: a card that feels like your circle of friends
For a 30th birthday, a clean design with a touch of color can be enough. Picture “Camille”, followed by “Partner in bright ideas”, or “Mehdi”, followed by “Always ready to dance”. Keep the same layout for everyone: the personal touch comes from the words, not from different decorations on every card.
A 40th birthday: thoughtfully chosen memories
For a 40th birthday, give each card a little personal meaning. Beneath “Julie”, write “The beginning of so many stories”; beneath “Thomas”, “Partner in spontaneous getaways”. Choose a memory the person will recognize without having to share a private story with the whole table.
A 50th birthday: warm words, without obligatory jokes
For a 50th birthday, a pared-back design and sincere words work beautifully without any need to mention age. “Sophie” could be paired with “So lovely to see you again”, and “Marc” with “Thank you for the memories we share”. If you would like a touch of humor, choose an endearing trait everyone knows rather than a joke about getting older.
What to write beneath the name: little messages, memories and photo challenges
The name should remain the first thing you notice. Keep the message to one short line and leave a clear gap between the two. Before writing on every card, test your longest phrase: if you have to squeeze the letters together, shorten it rather than sacrificing readability.
A welcoming message, even without a personal story
You do not need a unique memory with every guest. Phrases such as “A lovely evening together”, “A place saved just for you” or “So happy to celebrate together” offer a thoughtful welcome without ranking your relationships. You can use the same message for everyone and personalize just a few cards if that feels more natural.
For a meal bringing together different circles of friends, avoid nicknames that make no sense outside the group. A familiar first name makes introductions easier; a nickname can stay in the secondary message. If two people share a first name, add an initial or another detail they are both comfortable with, rather than a label based on their appearance.
A memory that starts a conversation
Choose a lighthearted reference: “Our rainy getaway”, “Sundays around the cake” or “That song we know by heart”. The memory should make its recipient smile, not leave them feeling they have to explain themselves. Avoid references to romantic relationships, personal difficulties or an evening that not everyone remembers in the same way.
A photo challenge that stays an invitation
You could write “Capture a detail of the decorations”, “Photograph your favorite moment” or “Invite your table to pose for a photo”. These prompts let everyone choose whether and how to join in. For a photo involving other people, ask for their permission and simply accept it if they would rather not appear.
Adapt the challenge to the celebration, too. At a child’s birthday party, an adult can photograph the children’s creations or the cake; there is no need to hand a phone to the youngest guests. For dinner with friends, a fun detail or a group photo with willing participants is enough, without competition or interruptions to the meal.
Preparing place cards for children’s tables
At a children’s table, choose a card that is instantly recognizable and easy to move. Write the name in clear letters, without decorative flourishes that are hard to decipher. A light background and dark text keep it easy to read, even when the tablecloth, cups and napkins are already full of color.
Turn the place card into a little activity
You can leave a blank space for each child to draw their favorite animal or a memory of the party. Prepare an example, but leave the other cards open to their imagination. The place card becomes a little keepsake to take home, without adding a complicated craft activity to the party.
For younger children, stick to folded paper and drawings. Avoid small detachable accessories or sharp fasteners within reach. If you offer stickers or other decorations, choose age-appropriate materials and make sure an adult is present.
Help children find their seats without creating a hierarchy
Do not use the messages to give special roles to only some of the children. “Table captain” may prompt more negotiations than expected. Similar phrases such as “Ready for adventure” and “Time to explore” keep the spirit inclusive without choosing a winner.
Before placing the cards, check the pronunciation and spelling of names with parents if necessary. For children who need an adult beside them at the table, choose a seating arrangement that allows this. A pretty card is no substitute for a reassuring welcome and a suitable seat for the meal.
Make your cards quickly, then get the printing right
Prepare a clean list with one first name per line before opening the generator. Check accents, hyphens and compound names. With your list ready, you can lay out the sheets in two minutes: paste in the names, choose a style and check the preview. Cutting, folding and handwritten messages take additional time.
Choose a style without complicating the layout
The available styles are Classic, Night, Botanical, Minimal, Terracotta and Champagne. For a table already full of color, start with Minimal; for a setting with greenery, try Botanical. Above all, compare the printed results: your paper and printer may produce a different look from what you see on screen.
The tool is free to use, with no account required. Each line in the list becomes a card, so do not put your message on a separate line in the first-name field, as this would create another card. Keep your phrases in a separate list, then copy them beneath the names by hand after printing.
Check one sheet before printing the full set
Select A4 paper in the settings and check the print size. If your printer cannot print right to the edges, check the preview for areas that might be cropped. Print a test sheet, cut out one card and compare the result with your intended size before continuing.
Cut out the cards along the guides, then gently score the fold using a ruler and a blunt tool. Fold with the names facing outward. Let the ink dry before handling the sheets, and test the pen you have chosen for the messages to avoid smudges.
Finally, sort the tent cards by table or dining area. Keep a few spare cards and a matching pen to correct a mistake or welcome someone added to the guest list. This small reserve will be more useful than an extra decoration that is difficult to recreate.
Surprise birthdays and photo QR codes: take care of the details
For a surprise birthday, prepare the place cards out of sight of the guest of honor and ask someone who knows about the surprise to set them out. If guests are arriving at different times, group the cards by seating area so you do not have to search for each name while welcoming them. Keep a card for the guest of honor too, with a message that reveals nothing before they arrive.
The place card can also provide access to the party’s photo album. The generator lets you add a QR code beneath the name by entering the album link. Check the link and scan a printed card before preparing the whole table; test it on the final paper, not just on screen.
If you prefer to keep the main side for the name and message, you can add the QR code to the back on a label after printing. This is a manual finishing touch, not a back-placement option in the generator. Leave a clear space around the code and do not place it over the fold.
Add a short instruction, such as “Share your photos from the party”. Place the cards where they remain accessible, away from food and any immediate risk of splashes. The result stays simple: a seat that is easy to find, a personal message and, for anyone who wishes, an invitation to share their memories.